The first thing I did was to see if I might have some sterling left over from a prior job that was big enough for the concho. I looked through my scrap box and found a piece of solid sterling plate that would work.
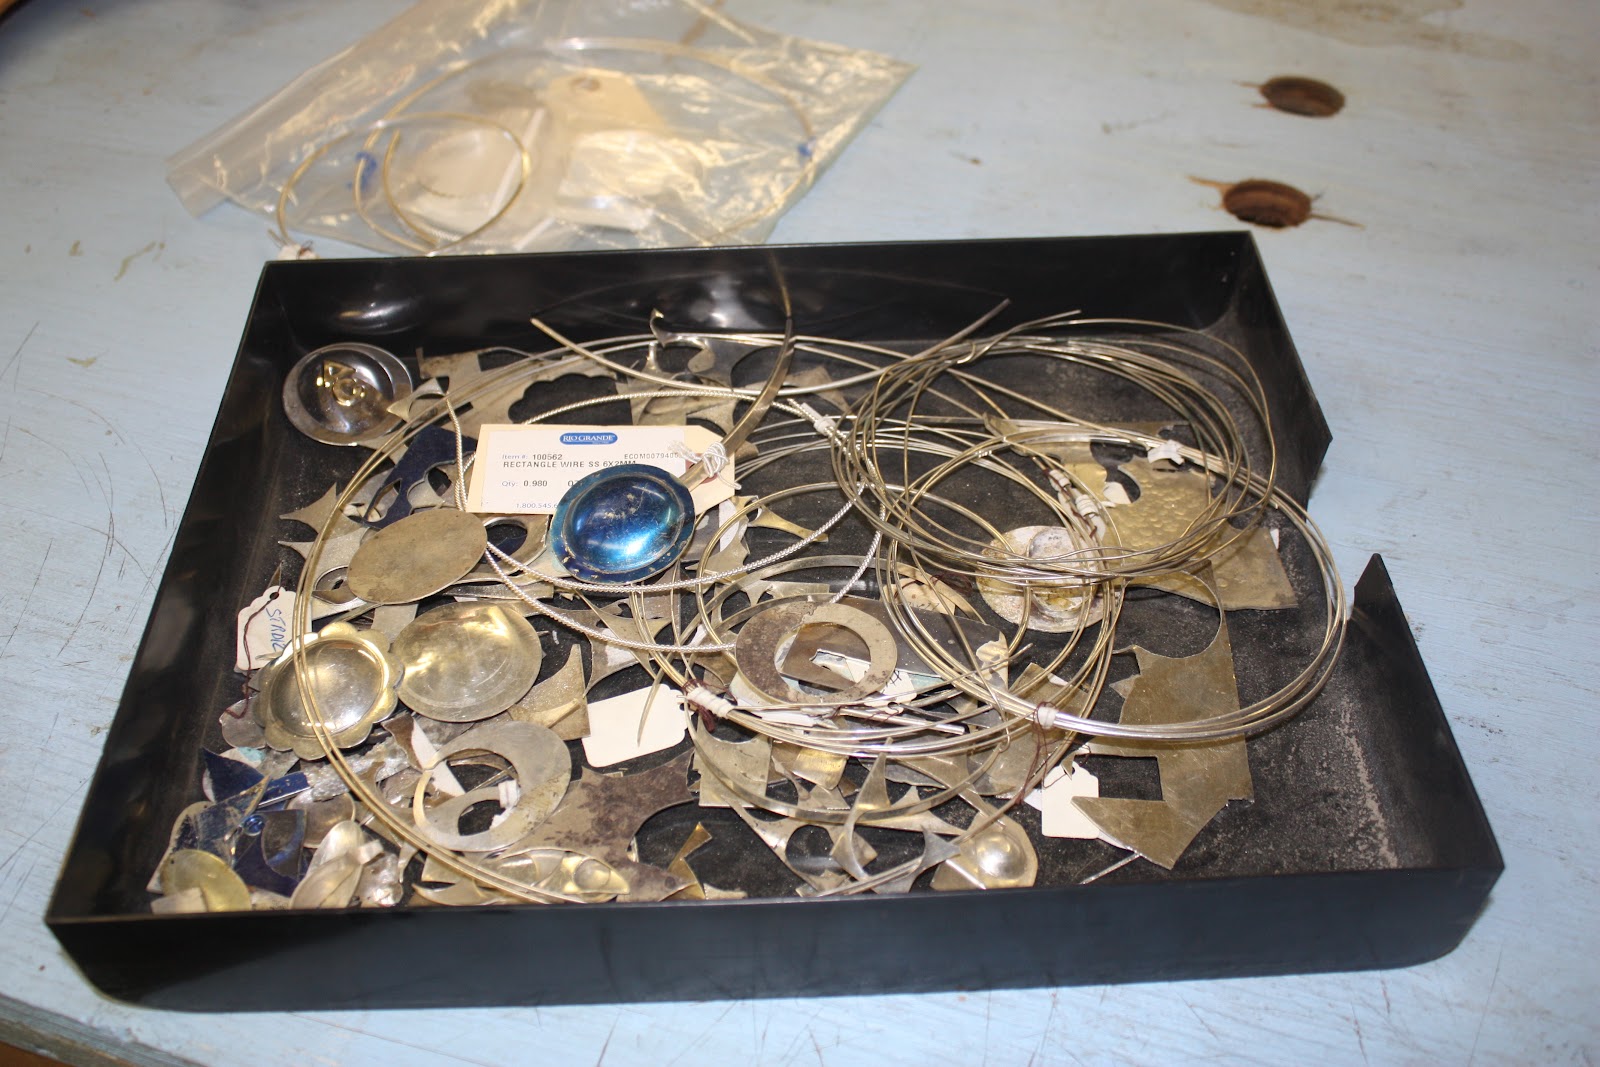
A couple of years ago I had an order for 16 headstall conchos. I cut 18 blanks in case I made a mistake. I had one left. (Does that mean I had to redo one?)

After cleaning up the sterling I hallmarked the piece by stamping my name and "sterling" on the back.

Next I domed the concho. I used a piece of plexiglass with a 1 1/4 in hole cut out of it as a die. I sandwiched the die, the silver, and a piece of polyurethane in my hydraulic press and gave it a few pumps-

which resulted in a nicely domed concho.

Next I cut off the flange with a jeweler's saw. That is a skinny blade!

I cut the concho slightly larger than what I needed so I could true up the edge with my belt grinder.

I wrapped a piece of 12 gauge sterling around a piece of round stock for the bail.

I had already scanned some artwork into the computer, so I printed it out, glued it to the piece of brass and cut it out with the jeweler's saw.

 I lost my photographer at this point. My grand daughter had to go home and help her mother. So now I only have two hands to work my tools and the camera. Bummer! And I lost some good company. Really a Bummer!
The next step was to solder the giraffe to the concho. After the giraffe (or figure, initials, brand, date, logo, or whatever) is soldered on there are several things you can do to finish the concho. Most of the time I will engrave the background with a Western Bright Cut scroll pattern. Sometimes I'll leave the silver plain and buff it to a high shine. This customer wanted the background stippled. Stippling means to evenly make a bunch of small dots that covers and fills in the background. I stipple with my air powered GraverMax engraving machine. While engraving the GraverMax has a small piston inside a handpiece that vibrates and provides a little assist in pushing the tool through the metal. While stippling I just hold the tip of the tool above the metal and the vibration causes the tool to tick the metal, leaving a small dot. My tool for stippling is a sharpened steel rod. This photo shows a small area being stippled on a practice plate of brass.

All that's left is to clean up the concho and it's ready to ship. This one will go to a customer on the East Coast.

As you can see making a concho by hand is an involved process. The maker puts some time and effort into it. Uses quality materials. And I like to think, a little of his/her soul. This is unlike the manufactured conchos that are stamped out of brass by a machine. One crunch of the die and the concho is cut, domed and embossed. Then it is plated with 2/1000th of an inch of silver. Hundreds are made in an hour. Thankfully there are still people that appreciate genuine hand made items. And it seems there are more people discovering handmade stuff all the time.
I would like to know how you made the die? I need to make some navajo conchos and I need an inexpensive way to dome and stamp them.
ReplyDeleteHi Tyrone,
ReplyDeleteI make my dies out of plexiglass. I just cut out the outline of the concho with a jeweler's saw. On very small concho's I'll drill a hole in the plexiglass. The key is to sandwich the silver between the plexiglass and a piece of polyurethane. The polyurethane flows under pressure and pushes the metal into the hole in the plexiglass. I buy the polyurethane from Riogrande.com.